
Avoiding Common Painting Mistakes: Expert Tips
Preparing the Surface
One of the most common painting mistakes is neglecting proper surface preparation. Before you even open a can of paint, it's essential to ensure that the surface is clean, dry, and free of any imperfections. This means removing any dirt, grease, or loose paint. Sanding rough areas and filling in holes or cracks can make a significant difference in the final result.
Once the surface is ready, applying a high-quality primer can help the paint adhere better and last longer. Primer is especially important when painting over dark colors or on new drywall, as it provides a uniform surface for the paint to cover evenly.
Choosing the Right Paint
Another mistake many people make is selecting the wrong type of paint for their project. Consider the environment where the paint will be applied. For example, kitchens and bathrooms require moisture-resistant paints, while exterior surfaces need paints that can withstand weather conditions.
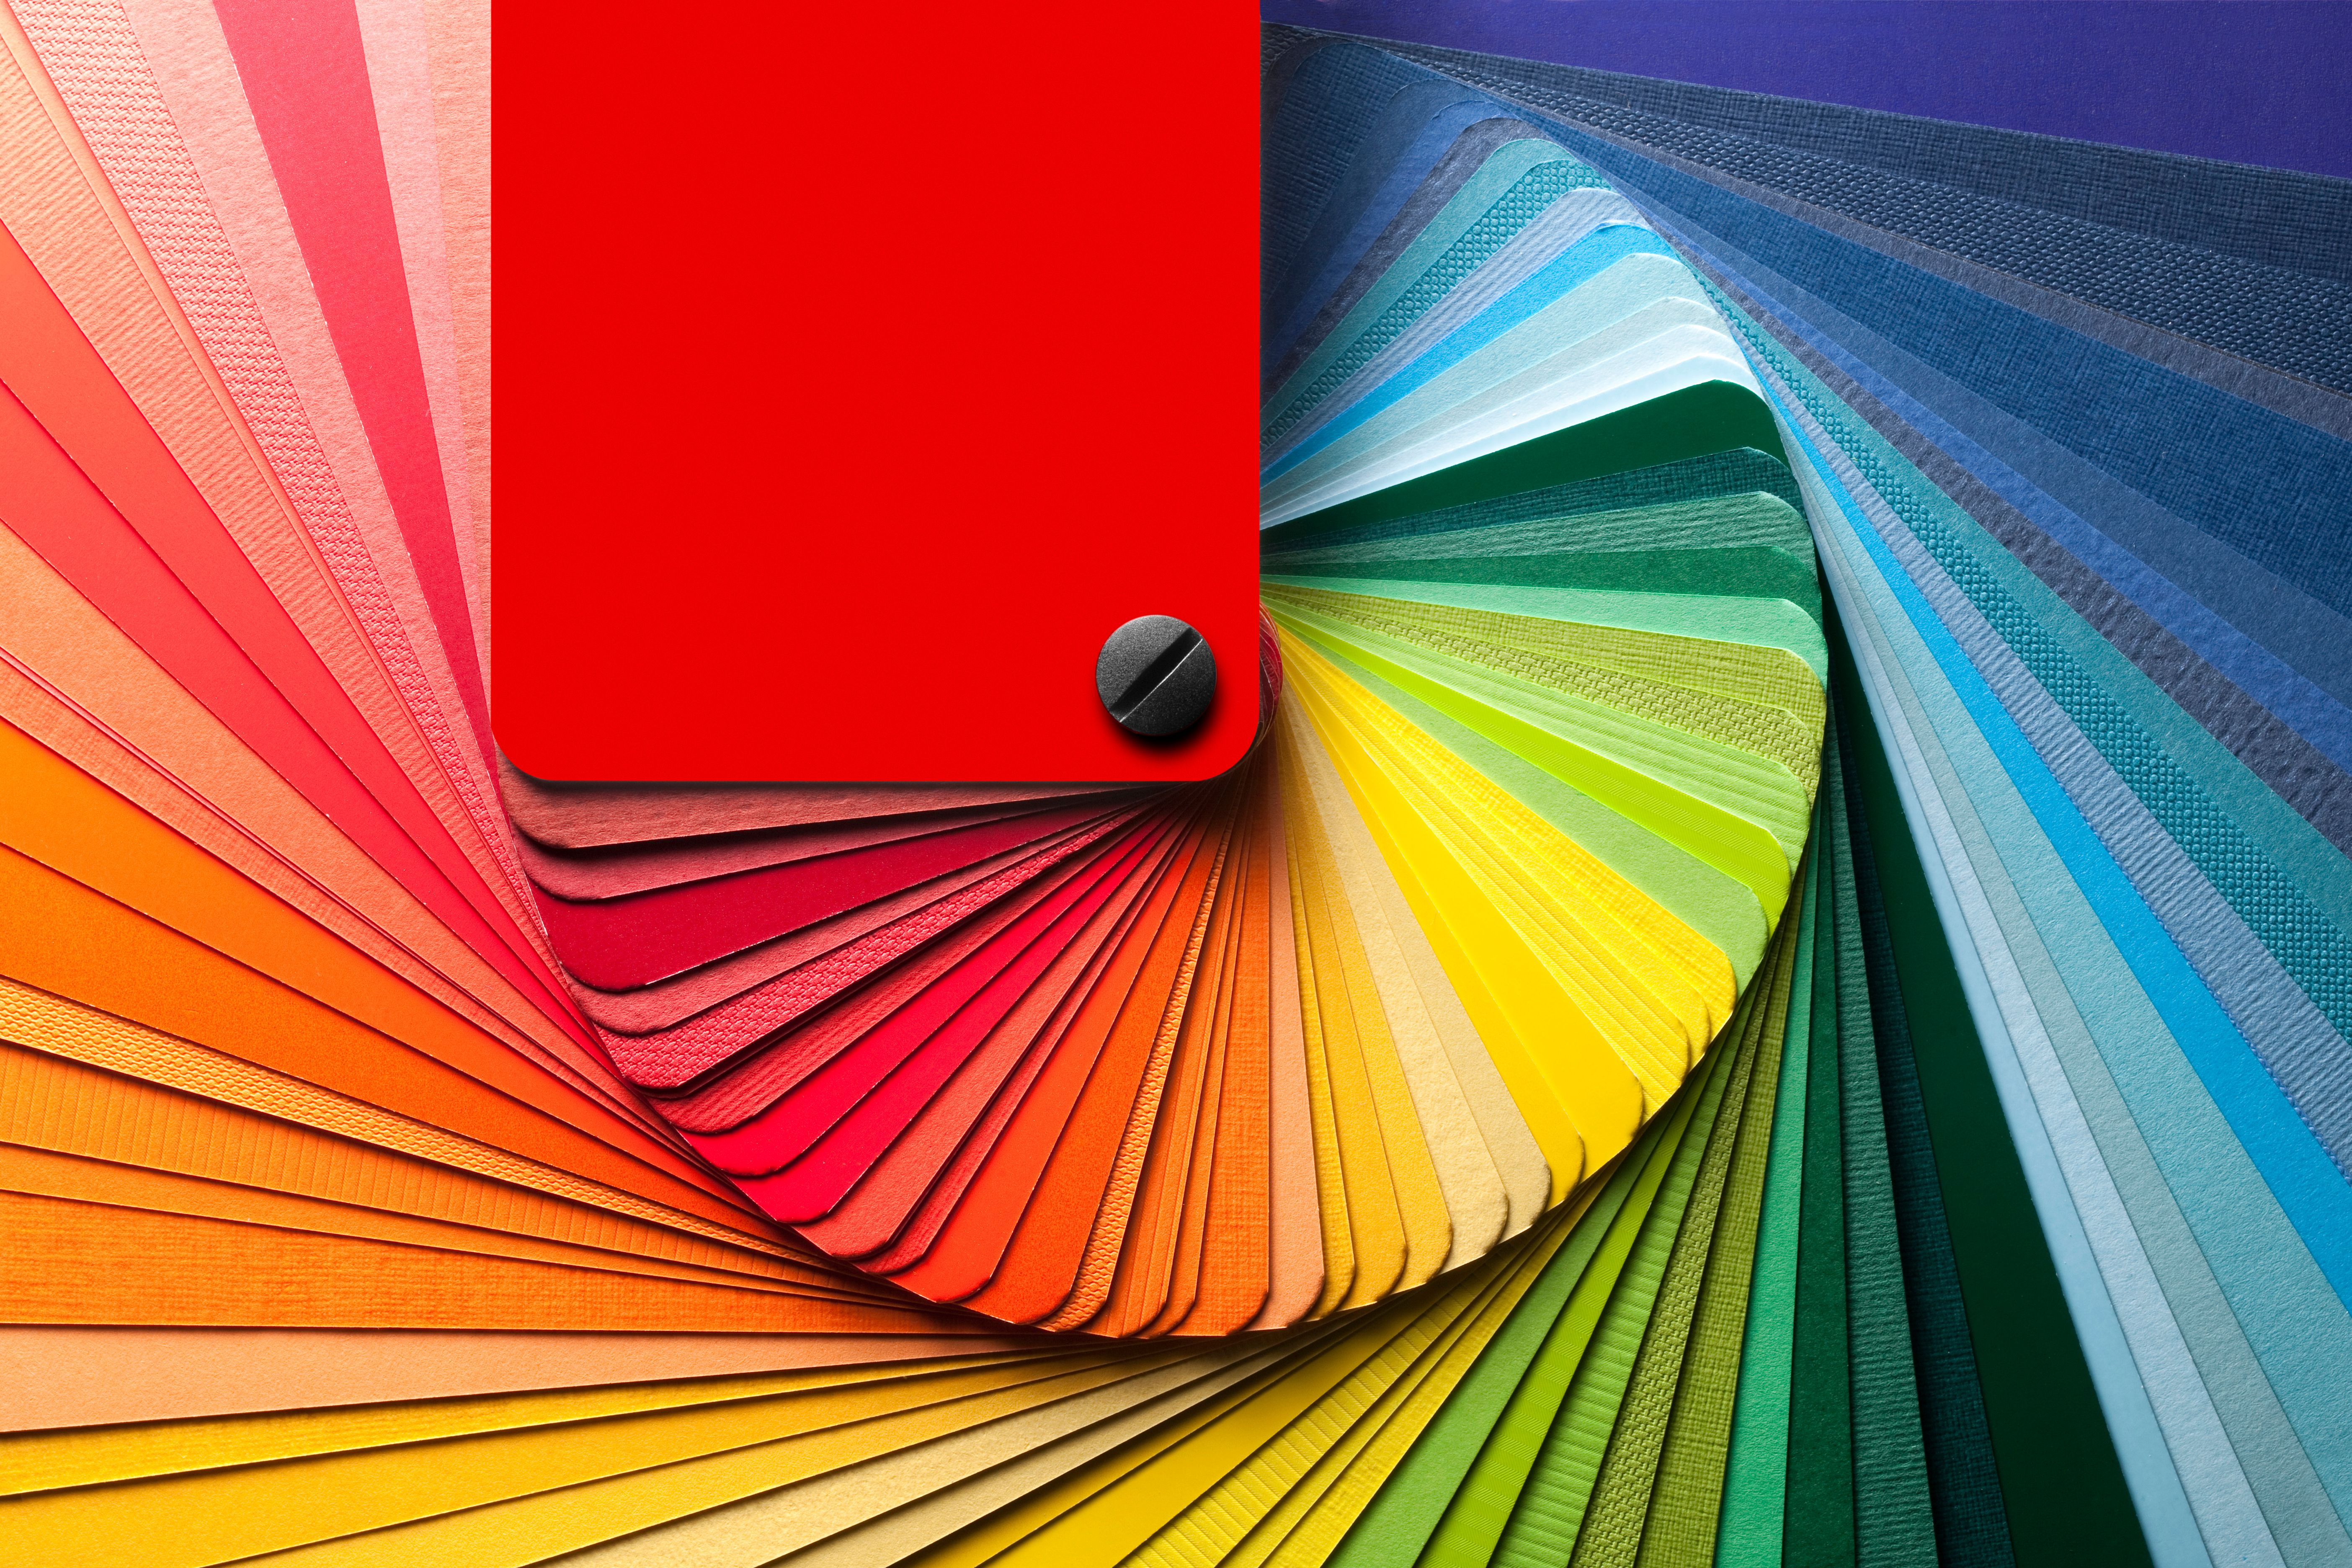
Additionally, make sure to choose the right finish. Flat or matte finishes are great for hiding imperfections, but they may not be as durable in high-traffic areas. Semi-gloss and gloss finishes, on the other hand, offer more durability and are easier to clean.
Using Quality Tools
Investing in high-quality brushes and rollers can significantly impact the outcome of your painting project. Cheap tools often leave streaks or shed bristles into the paint, creating an unprofessional look. A good brush should have split ends, which help hold more paint and apply it smoothly.
When using rollers, ensure the nap length is appropriate for your surface. A shorter nap works well for smooth surfaces, while a longer nap is better for textured walls. Don't forget to have a sturdy ladder and painter's tape to protect areas you don't want painted.
Applying Paint Correctly
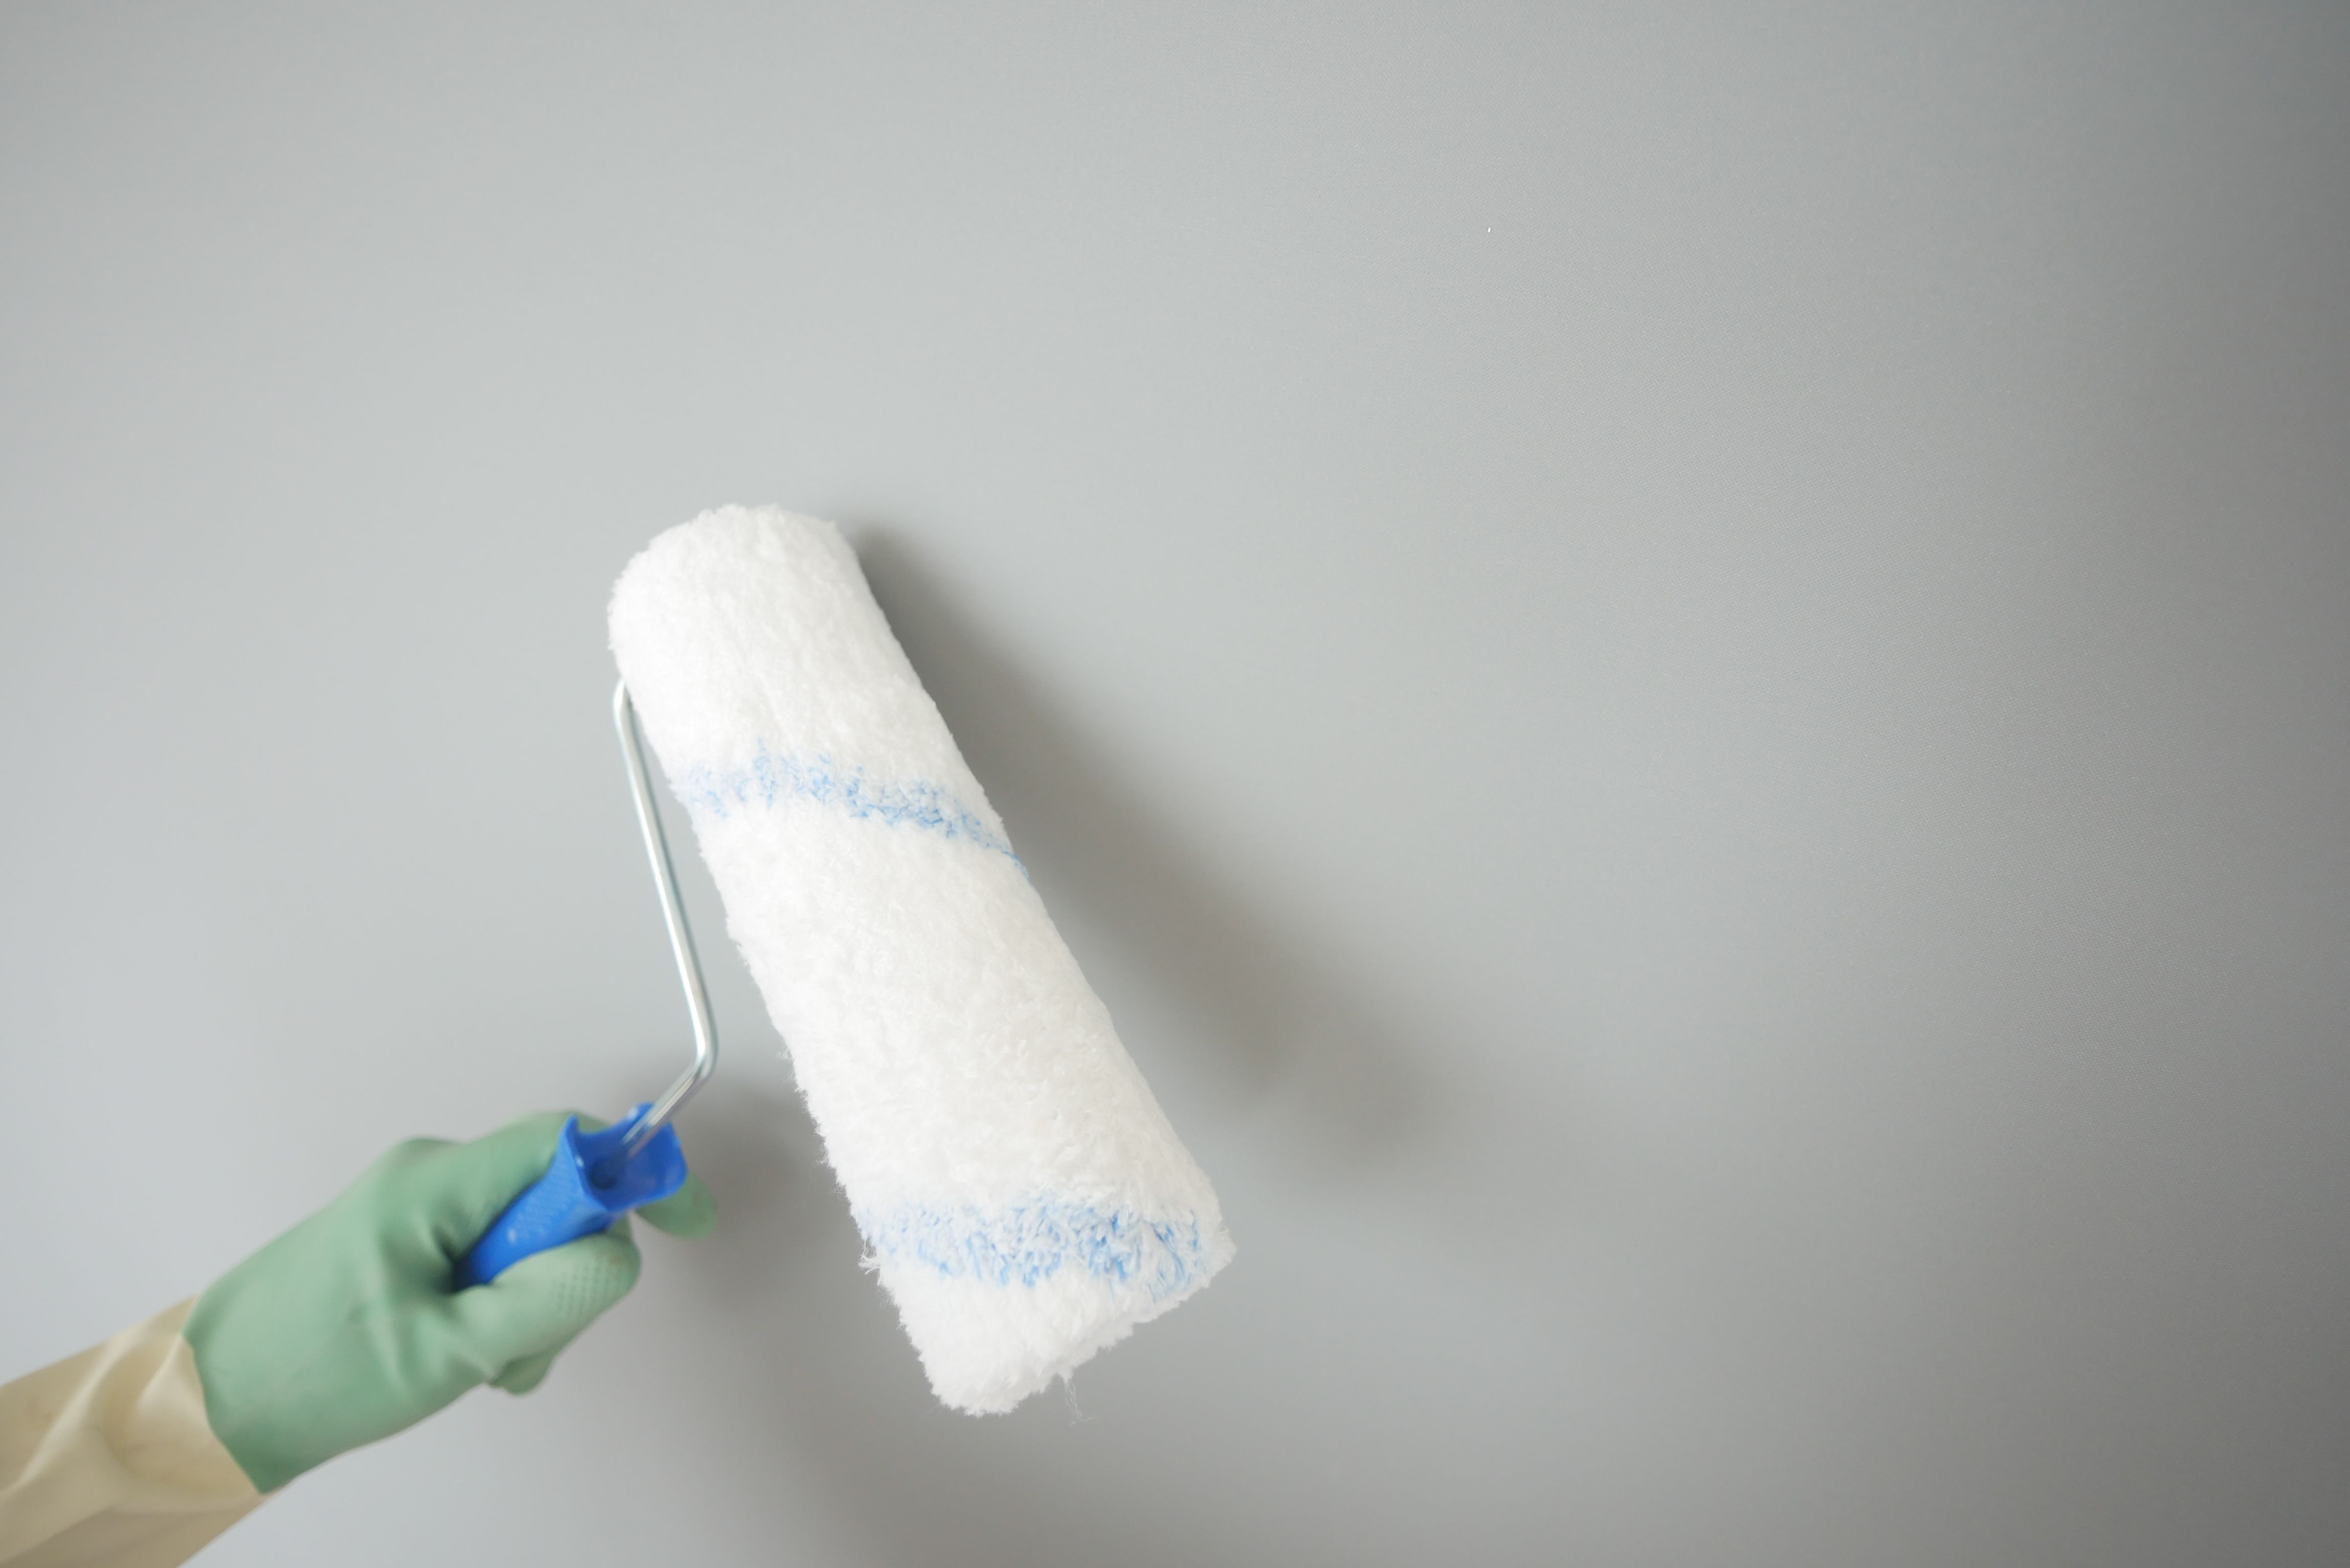
Applying too much paint at once can lead to drips and uneven coverage. It's better to apply multiple thin coats, allowing each layer to dry before applying the next. Start by cutting in at the edges with a brush, then use a roller to fill in the larger areas.
Maintain a wet edge while painting to prevent lap marks. This means working quickly and blending each section into the next before the paint starts to dry.
Allowing Proper Drying Time
Many people rush the drying process, which can lead to smudges and uneven finishes. Always follow the manufacturer's recommended drying times between coats. This ensures that the paint properly adheres and cures, resulting in a more durable finish.
If you're painting in a humid environment, consider using a dehumidifier or fan to help speed up the drying process.
Cleaning Up
Proper cleanup is crucial to maintaining your tools and ensuring they're ready for your next project. Clean brushes and rollers immediately after use with the appropriate solvent—water for latex paints and mineral spirits for oil-based paints.
Storing leftover paint correctly can also save you time and money in the future. Seal the can tightly and store it in a cool, dry place away from direct sunlight.
Final Touches
Once the painting is complete and the paint is dry, remove any painter's tape carefully to avoid peeling. Inspect the paintwork for any touch-ups that might be needed. A final inspection can ensure that your project looks professional and meets your expectations.
By following these expert tips, you can avoid common painting mistakes and achieve a flawless finish that enhances the beauty of your space.